
A wipe is not verified until you have checked the media itself, not just the software’s exit code. For an HDD, that means a full sector read-back (or a statistically valid sample if policy allows it). For an SSD or NVMe drive, it means confirming firmware Sanitize completion status and then reading back the logical LBAs. For cryptographic erasure, it means proving the encryption keys were actually destroyed, since there’s no sector-level evidence to check. Run a recovery scan as a second layer of scrutiny, then generate a certificate of erasure with device identifiers, method, and pass/fail results attached.
NIST SP 800-88 Rev. 2 treats verification as mandatory, not optional, and distinguishes it from validation: one confirms the process ran, the other confirms it worked. Tools worth knowing by name before you go further: dd paired with hexdump or xxd for raw sector checks, nvme sanitize-log for SSD firmware status, and PhotoRec or Recuva for recovery scans.
- Pick the sanitization method that matches the media (Clear, Purge, or Destroy).
- Verify with full read-back (HDD) or firmware status plus logical read-back (SSD/NVMe).
- Destroy and log encryption keys if you used cryptographic erase.
- Run a recovery scan as a secondary check, not a primary one.
- Generate and retain an audit-ready certificate of erasure.
Key Takeaways
Wiping verification methods only count as complete when the check matches the media, the failure gets documented, and the result lands in an audit-ready certificate.
| Point | Details |
|---|---|
| Match method to media | Use full read-back for HDDs, firmware Sanitize status plus logical read-back for SSDs/NVMe. |
| Treat CE differently | Cryptographic erase verification means proving key destruction, not scanning sectors. |
| Use recovery scans as backup | PhotoRec or Recuva catch obvious failures but can’t see SSD over-provisioned cells. |
| Certificates need specific fields | Device ID, method, verification type, pass/fail result, timestamp, and operator sign-off are mandatory. |
| Escalate on any fail condition | Re-run, attempt firmware Purge, then move to physical destruction through a certified provider like Usedcartridge. |
Table of Contents
- Why Wiping Verification Methods Matter for Compliance and Resale
- How Do Wiping Verification Methods Differ by Media Type?
- What Tools and Checks Confirm a Wipe Actually Worked?
- What Belongs in an Audit-Ready Erasure Certificate?
- When Should You Escalate to Purge or Physical Destruction?
- Where Usedcartridge Fits in a Verification Program
- An Editorial Take on Verification Discipline
- Get Certified, Verified Data Destruction Without Building It In-House
- Sources
Why Wiping Verification Methods Matter for Compliance and Resale
A “success” message from a wiping tool tells you the process finished. It doesn’t tell you the data is actually gone. NIST SP 800-88 Rev. 2 is explicit on this point: sanitization has to be verified, and ideally validated, before you can call it complete. Skipping that step leaves you with a claim, not evidence.
Auditors working against R2, NAID AA, or e-Stewards frameworks want proof, not assurances. So do buyers of resold IT equipment, who assume a wiped drive is genuinely clean before it reaches a secondary market. Liability follows the paper trail, and an unverified wipe leaves no trail worth defending.
The bigger risk is the silent failure. Wipes get interrupted by power loss, drives remap bad sectors around data that never gets overwritten, and firmware bugs occasionally report success when the sanitize command actually failed. None of that shows up unless you check.
- Regulatory exposure: unverified wipes can’t satisfy R2, NAID AA, or e-Stewards audit requirements.
- Resale risk: buyers assume “wiped” means “verified wiped,” and the gap becomes your liability.
- Silent failures: interrupted processes, remapped sectors, and firmware bugs can all masquerade as success.
How Do Wiping Verification Methods Differ by Media Type?
Verification isn’t one procedure. It changes depending on what’s inside the enclosure, and treating every drive the same way is how gaps get missed.
- HDDs. Full read-back is the gold standard here: read every sector after the wipe and compare it against the expected overwrite pattern. A command like
dd if=/dev/sdX bs=1M | hexdump -C | lesslets you scan for stray non-zero patterns across the full device. If policy allows sampling instead of a full pass, pull sectors at spaced offsets usingddwithskipandcountflags, and document the sampling interval used. - SSDs and NVMe drives. Because 7% to 28% of an SSD’s capacity sits in over-provisioned space that host-level commands can’t reach, a read-back alone proves nothing about hidden cells. Run a firmware-level Purge command, then confirm completion through
nvme sanitize-logor the vendor’s own status utility, and follow with a logical read-back of the visible LBAs. If the firmware reports an incomplete or failed sanitize, don’t trust a clean read-back to override it. Persistent uncertainty on a highly sensitive SSD is a legitimate reason to move straight to physical destruction. - Mobile and MDM-managed devices. Confirm the wipe through the admin console itself. Microsoft Intune reports wipe and factory-reset status back to the console, but Factory Reset Protection and platform-specific prerequisites can block or delay a clean acknowledgement. Record the timestamp and status code, not just a visual confirmation that the device rebooted.
- Cryptographic erase. Verification here isn’t about reading sectors at all. It’s about proving the encryption key is gone. Imperva’s guidance on data sanitization notes that CE depends on strong encryption (128-bit or better) and correct key handling, so your evidence trail is the key-destruction log and chain-of-custody record, not a hex dump.
- RAID arrays and removable media. Controller-level wipes need array reconfiguration checks afterward, since a rebuilt array can occasionally expose remnants of pre-wipe parity data. Treat each disk in the array individually where firmware allows it.
Pro Tip: Never accept an SSD’s “sanitize complete” flag on its own. Pair it with a logical read-back every time, since firmware status codes occasionally lag behind the actual state of the drive.
What Tools and Checks Confirm a Wipe Actually Worked?
Read-back verification is the backbone of the process, and it looks different depending on your operating system. On Linux, dd combined with hexdump or xxd lets you scan raw sectors for leftover data; a full pass reads every byte, while a sampling pass uses skip and count to check spaced intervals. On Windows, a hex editor or PowerShell script that reads raw disk offsets accomplishes roughly the same thing, though native tooling is less standardized.
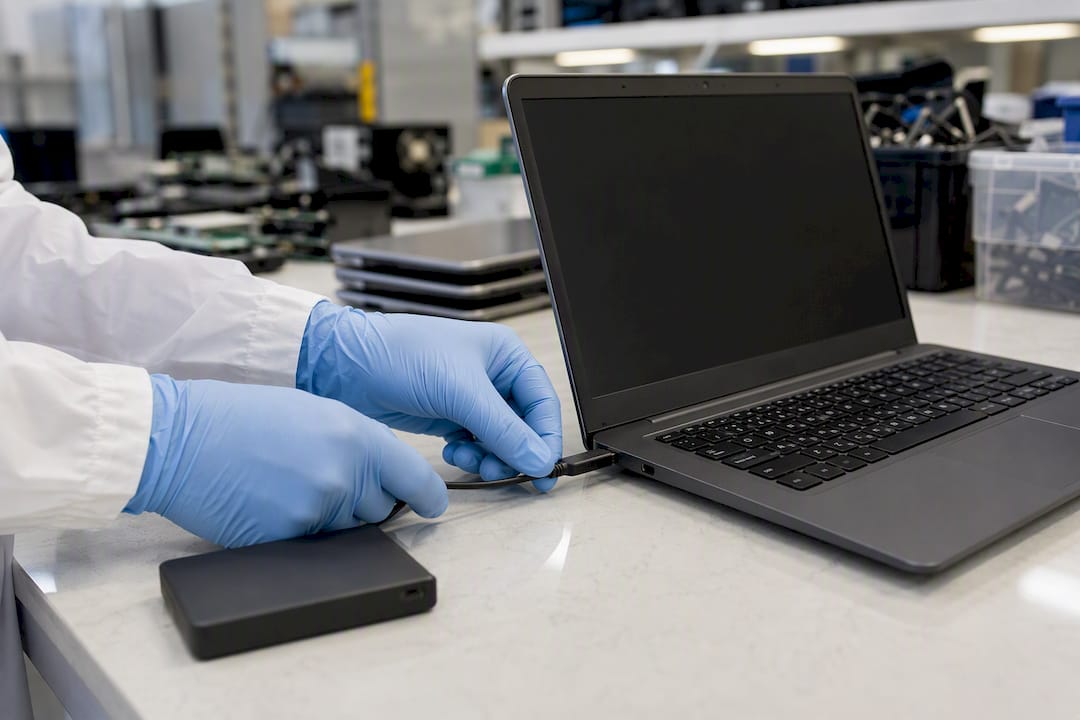
Firmware and status logs are your second checkpoint. nvme sanitize-log returns a completion percentage and status code for NVMe drives; ATA drives report secure-erase or sanitize status through vendor utilities. SMART attributes are worth a glance too. A spike in reallocated sector count or pending sectors after a wipe can indicate the drive quietly worked around bad regions instead of overwriting them cleanly.
Recovery scanners like PhotoRec or Recuva serve as a secondary check, not a primary one. Zero recoverable files is a good sign. Any recoverable file is an automatic fail. But these tools only scan the user-visible address space, so a clean scan on an SSD says nothing about over-provisioned cells or a hidden HPA/DCO region on an older HDD.
Commercial verification suites close that gap. BitRaser’s overview of erasure verification points out that these tools combine firmware-level checks with logical read-back and package the results into a tamper-evident, serial-numbered certificate, which is exactly what most auditors want to see instead of a folder of raw command outputs.
- Full-pass verification costs more time but leaves no ambiguity for high-sensitivity assets.
- Sampling cuts verification time significantly but requires a documented, defensible sampling rate.
- Commercial certificates cost more per unit but save hours of manual log assembly during an audit.
What Belongs in an Audit-Ready Erasure Certificate?
A certificate that survives an audit needs specific fields, not a summary paragraph. Missing even one of these turns a solid wipe into an indefensible one on paper.
- Device identifiers: serial number, make, model, and capacity.
- Sanitization method and level applied (Clear, Purge, Destroy, or Cryptographic Erase).
- Overwrite pattern used, or key-destruction method for CE.
- Verification method used: full read-back, firmware status, or recovery scan (ideally more than one).
- Pass/fail result, with specifics on any anomaly found.
- Timestamp of both sanitization and verification steps.
- Operator name and chain-of-custody record from intake to disposition.
- Storage location and retention period for the report itself.
The strongest certificates layer evidence types. Pairing a firmware completion log with independent read-back results gives an auditor two data points instead of one, which matters if either method has a known blind spot. Retention policy should mirror your data-classification rules, and sign-off should sit with someone outside the technician who performed the wipe, since a second set of eyes on the certificate is what auditors actually check for.
When Should You Escalate to Purge or Physical Destruction?
Verification failure has specific signatures: nonzero sectors showing up in a read-back, a firmware sanitize command returning a failure or incomplete status code, or a recovery scan turning up even one recoverable file. Any of those is a fail, full stop, not a “probably fine.”
The escalation path is straightforward. Re-run the wipe using a different method or tool first, since a single failed pass doesn’t always mean the drive is unsanitizable. If that fails again, move to a firmware-level Purge command if you haven’t already tried one. If problems persist, or the data classification is sensitive enough that you can’t afford ambiguity, approve physical destruction and generate a certificate documenting the escalation path taken.
Sampling is acceptable for lower-sensitivity assets when your policy explicitly allows it, a position NIST SP 800-88 Rev. 2 supports for devices where elaborate inspection isn’t warranted. Full verification becomes mandatory once you’re dealing with regulated data, litigation holds, or drives that failed a first verification attempt.
- Nonzero read-back sectors, firmware failure codes, or recoverable files all count as fail conditions.
- Send an ITAD your failed verification logs and sanitize-status codes, not just the drive itself.
- Reserve sampling for lower-sensitivity assets; escalate to full verification the moment a drive fails once.
Pro Tip: Keep the failed verification log even after you destroy the drive. Auditors sometimes ask why an asset moved from wipe to destruction, and that log is the answer.
Where Usedcartridge Fits in a Verification Program
Not every organization has the staffing or tooling to run firmware-level checks and full read-backs across hundreds of retired drives. That’s where certified ITAD partners fill the gap.
Usedcartridge handles on-site data destruction with audit-ready reporting attached to every job, so the certificate of erasure or destruction ships alongside chain-of-custody documentation instead of arriving as an afterthought. For organizations retiring assets at scale, that combination of physical destruction options and documented verification removes the guesswork from an internal SOP that might otherwise rely on inconsistent manual checks.
- On-site destruction for drives that fail verification or carry highly sensitive data.
- Documented chain-of-custody from pickup through final disposition.
- IT asset recovery for equipment that passes verification and still holds resale value.
- Compliance-oriented reporting suited to R2 and similar audit frameworks.
Organizations scaling past a handful of retired assets per quarter typically reach a point where outsourcing verification and destruction to a certified vendor costs less than building that capability in-house.
An Editorial Take on Verification Discipline
Most guidance on this topic treats verification as a checkbox: run the wipe, glance at the success message, move on. That habit is exactly backward. The tools that report “success” are the same tools whose failures are the reason verification exists in the first place. If you trust the tool’s own judgment about its own performance, you’ve verified nothing.
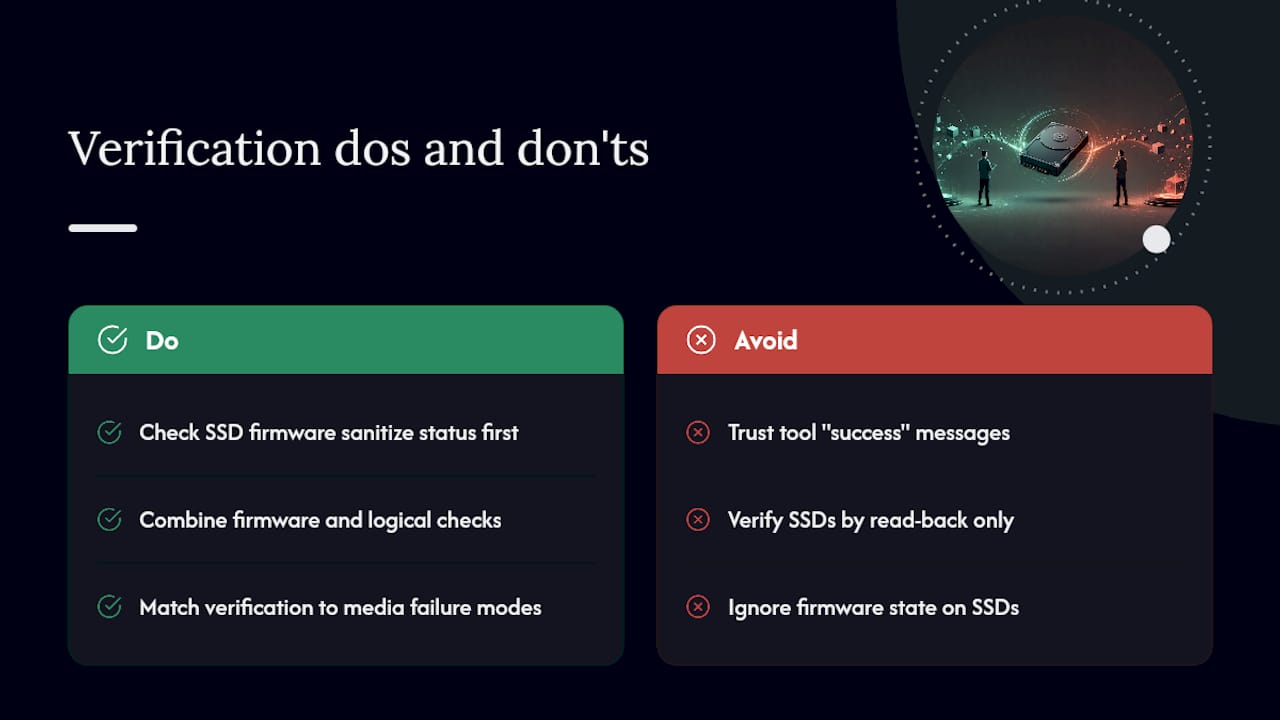
The bigger blind spot I see in practice is SSD over-provisioning. Plenty of IT teams still verify solid-state drives the way they’d verify a spinning disk, running a read-back and calling it done. Firmware-level sanitize status has to come first on SSDs, full stop.
If you take one thing from this playbook, make it this: verification methods should match the failure modes of the media, not the convenience of your existing scripts. A read-back that ignores firmware state, or a firmware check with no logical confirmation behind it, is half a verification wearing the costume of a whole one.
— Keith
Get Certified, Verified Data Destruction Without Building It In-House
Usedcartridge gives IT teams a faster path to audit-ready proof than building an internal verification program from scratch. Instead of assembling read-back scripts, firmware log parsers, and certificate templates yourself, you get on-site destruction with documented chain-of-custody and a certificate that already contains the fields auditors ask for.

This fits naturally after everything above: once a drive fails verification, or the data on it is sensitive enough that you don’t want to run the checks yourself, Usedcartridge’s equipment destruction service picks up exactly where the internal playbook leaves off. For organizations juggling IT asset recovery alongside disposal, the same workflow covers electronic waste recycling for the equipment that passes verification and still has resale value.
If your current process leans on a wipe tool’s own success message and nothing else, request a quote for IT asset recovery and disposition and get a verification and certification workflow that holds up when an auditor actually asks for proof.
Sources
- Guidelines for Media Sanitization (NIST SP 800-88 Rev. 2)
- What is Data Sanitization? | Data Erasure Methods | Imperva
- How to Verify Data Erasure Actually Worked (2026 Guide) | DriveWipe
- Wipe a device (Microsoft Intune) | Microsoft Learn
- Importance of Data Erasure Verification | BitRaser blog